
Last updated August 27, 2026
Free in-home measure and quote - PGT, CGI and CWS impact lines compared on your actual openings, style by style
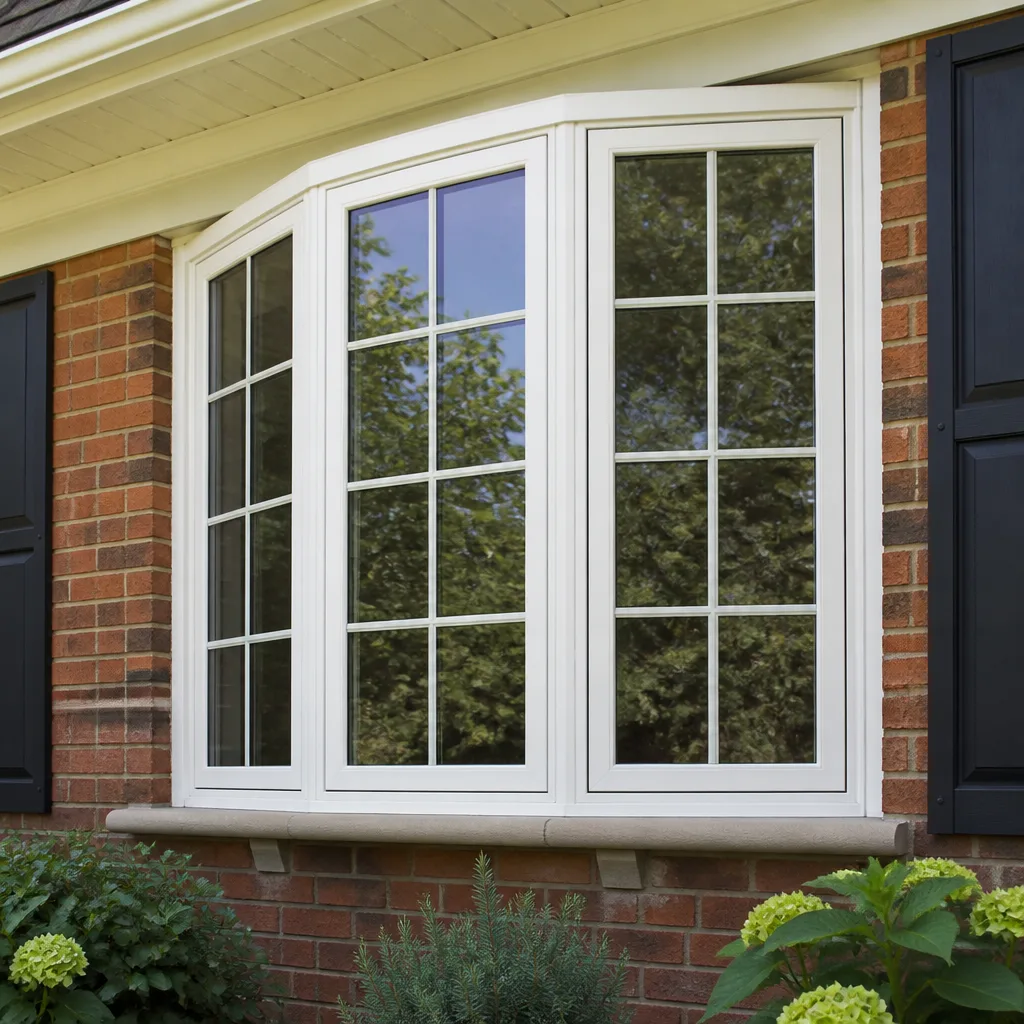
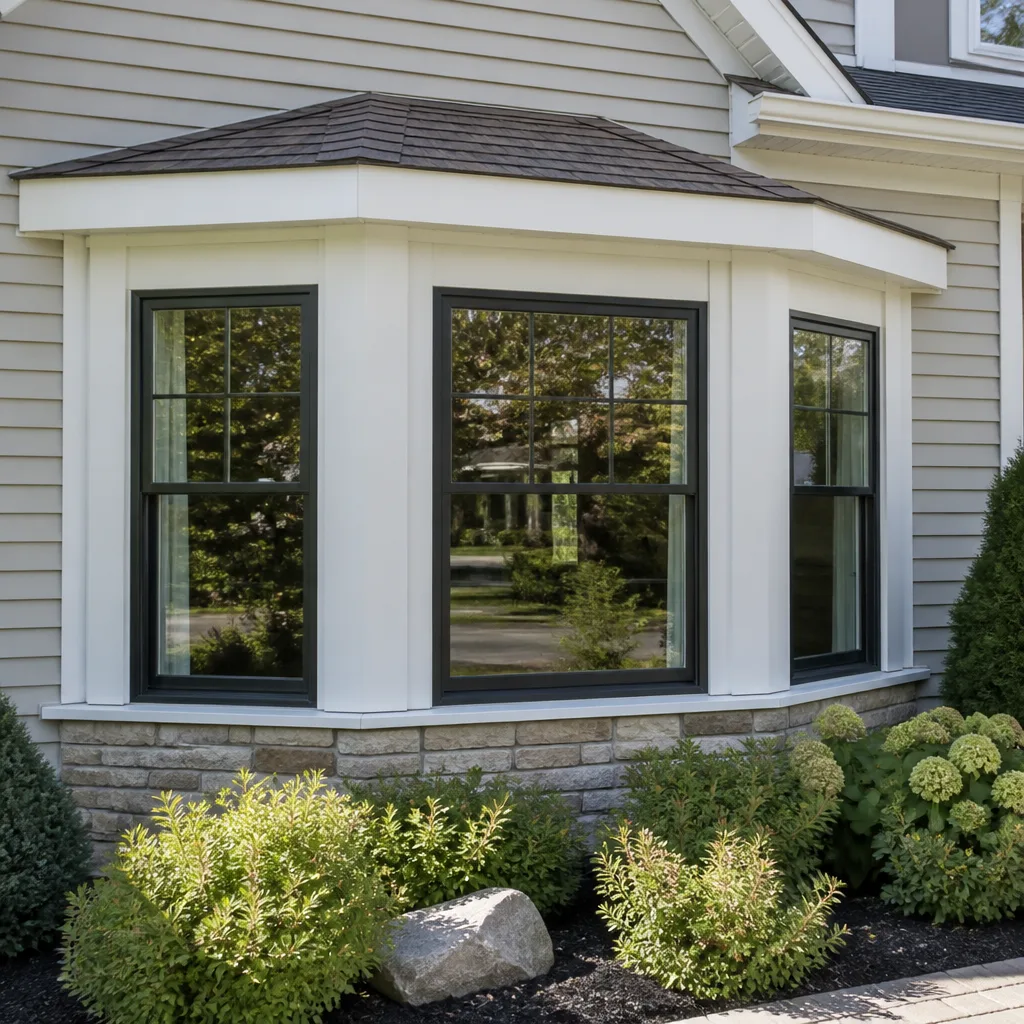
Sliding glass doors

Impact garage doorsPGTCGI
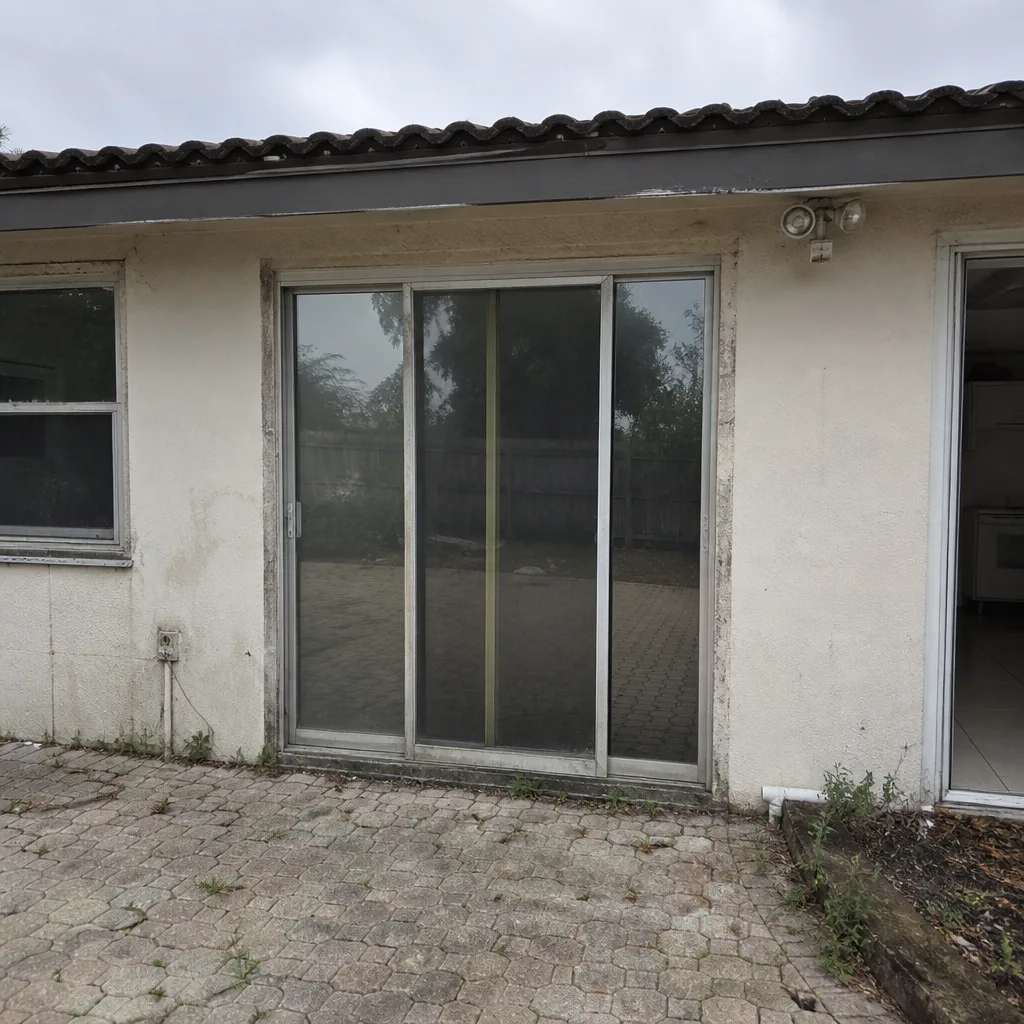 Before
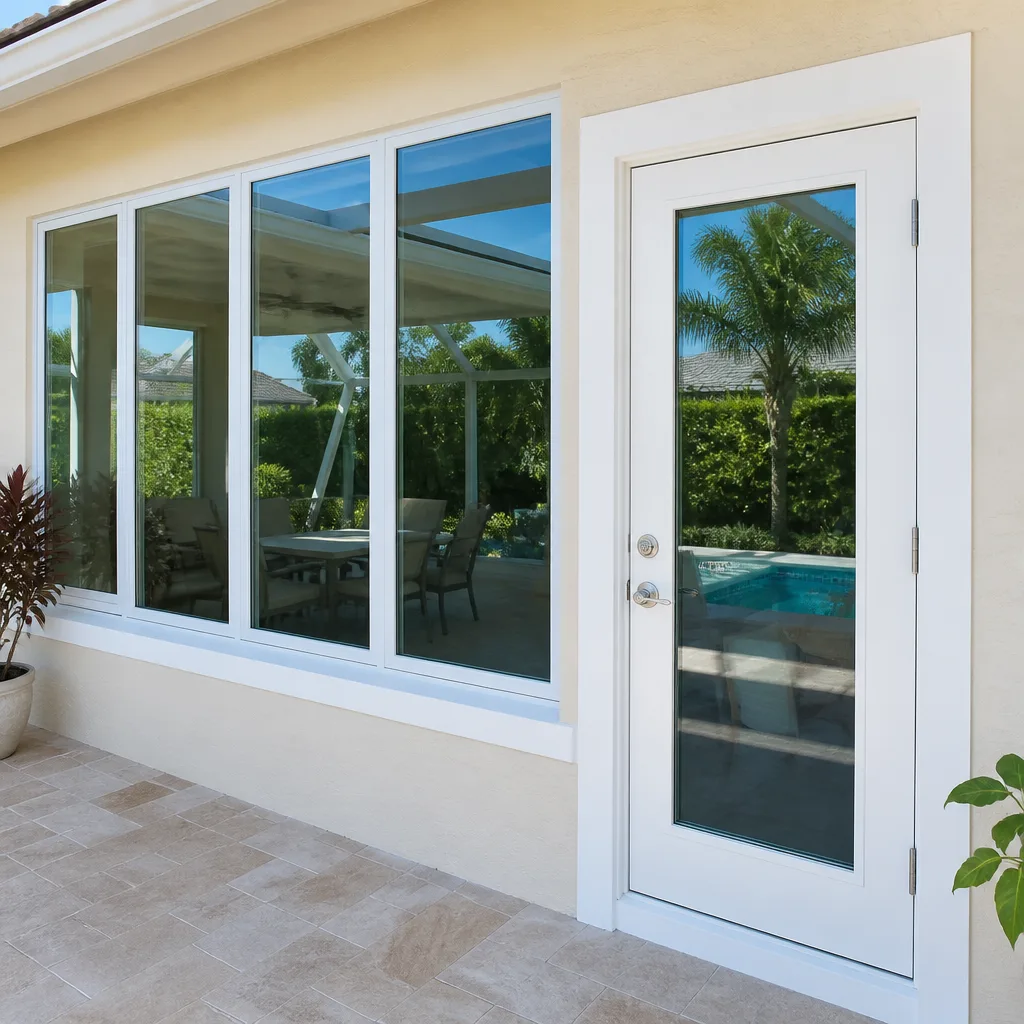 After
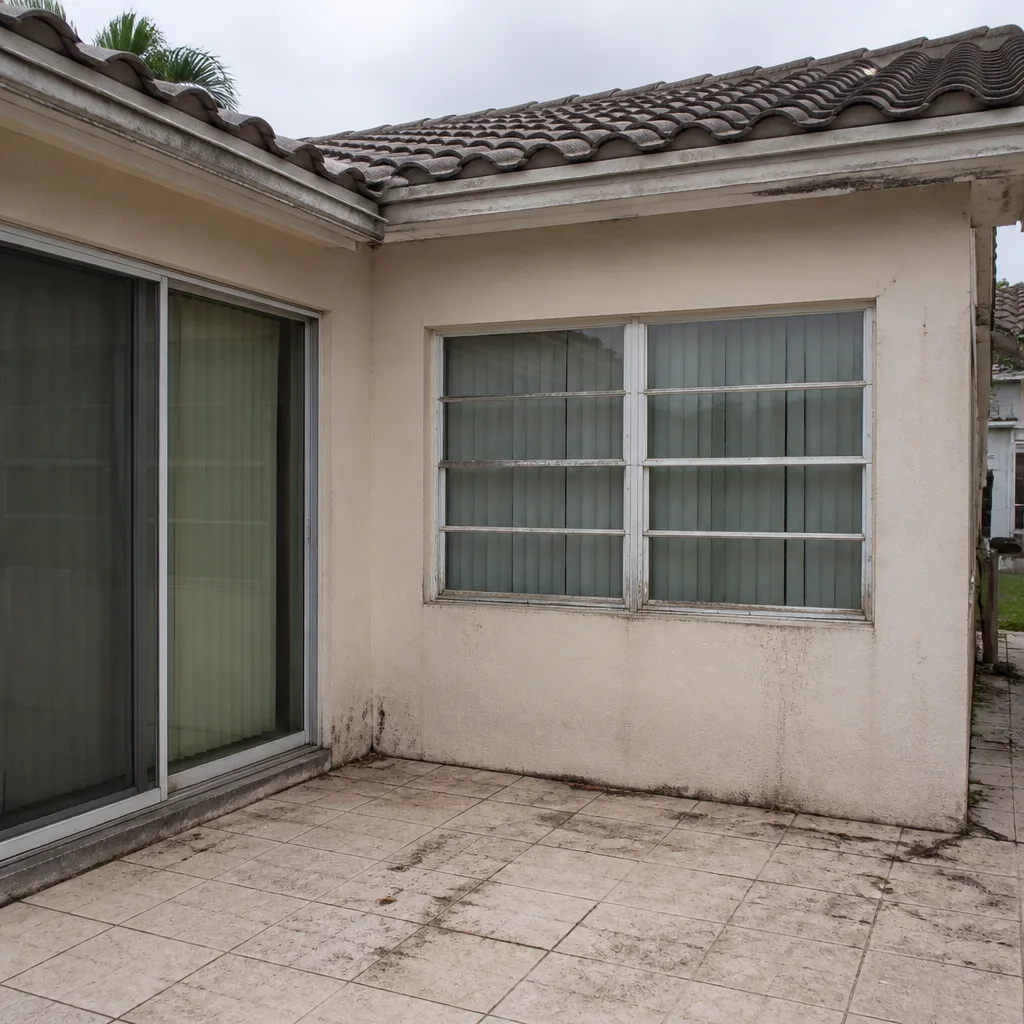 Before
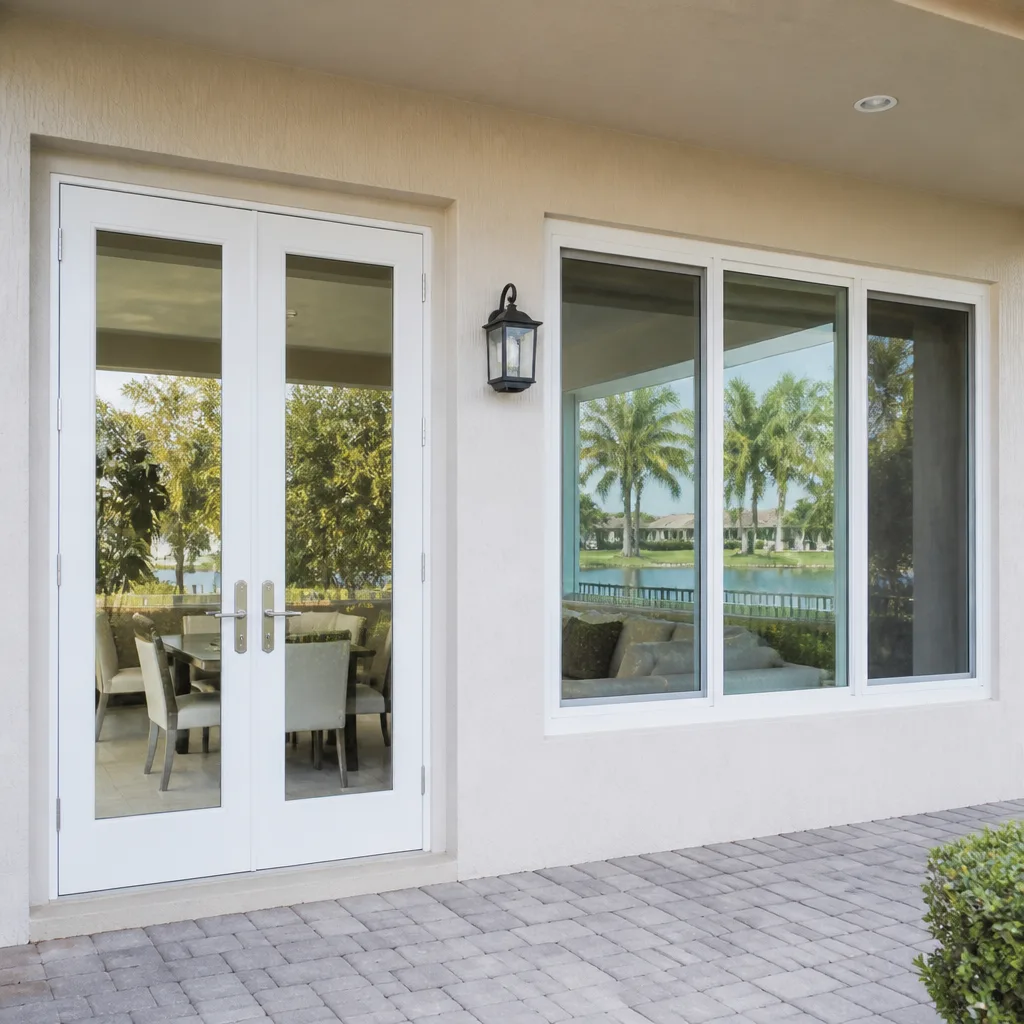 After
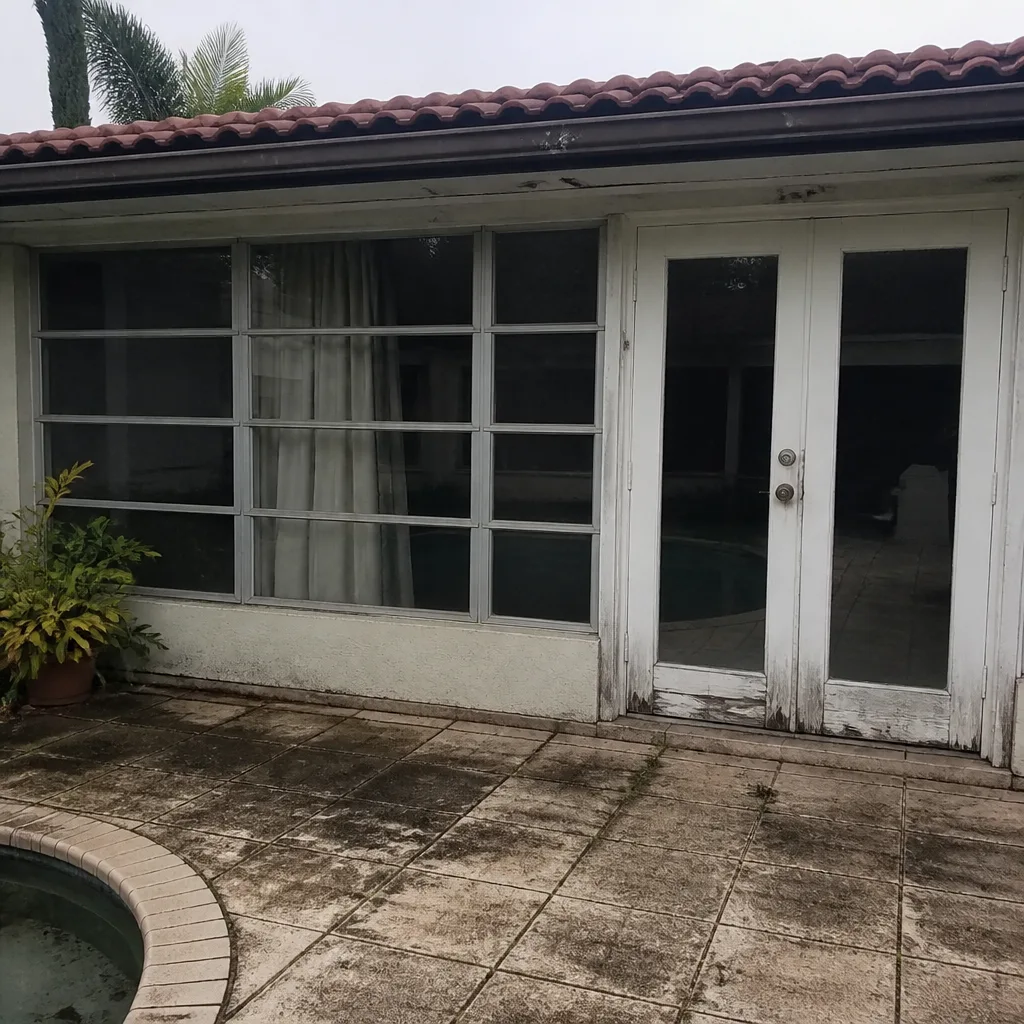 Before
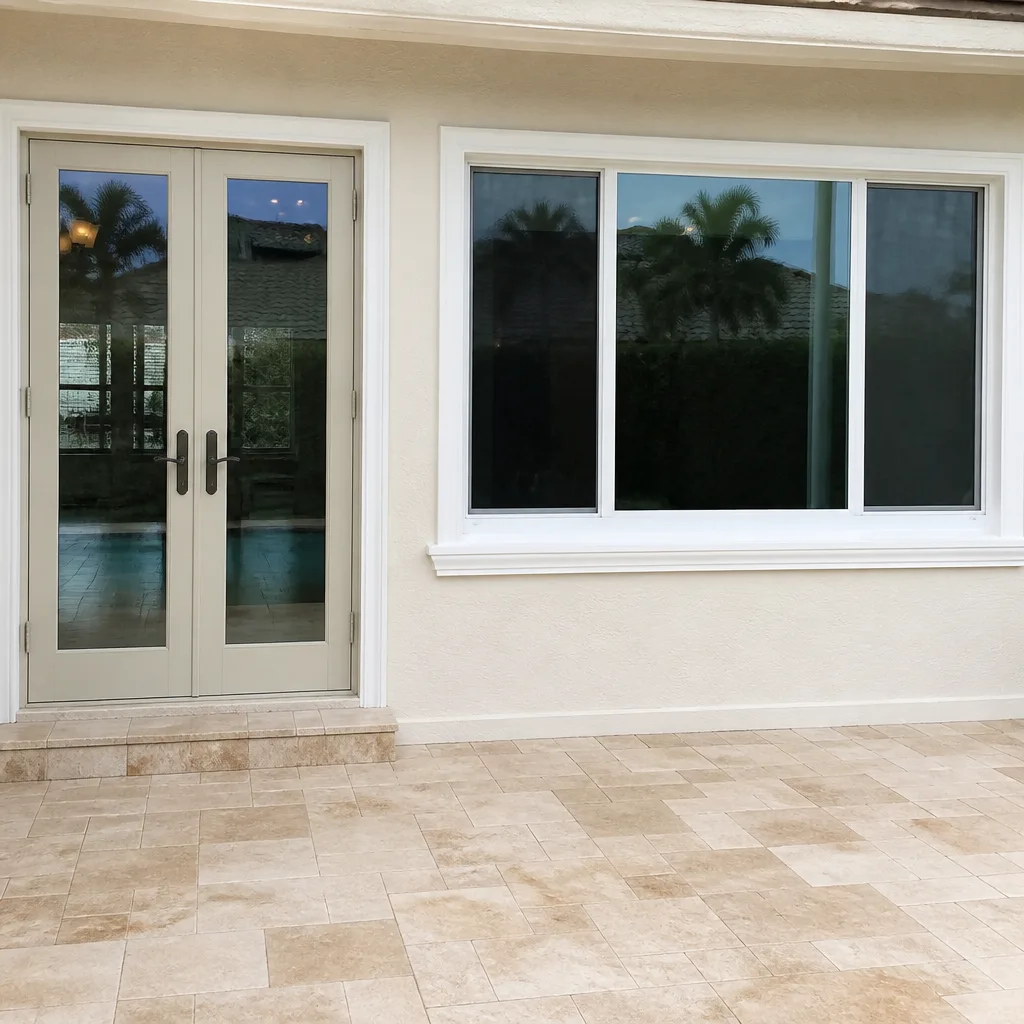 After
Window Installation Maintenance Checklist for Plantation Homeowners
Most window failures in South Florida are not the result of a manufacturer defect. They are the result of installation shortcuts that go unnoticed until the first hurricane season or the first heavy summer rain, when the water finds a way in. A window is a system, not a sheet of glass: the frame is sealed, the opening is flashed, the drainage plane is graded, and the interior trim is caulked against the humid air that defines life in Plantation. When one of those steps is skipped, the warranty card you filed away is not going to save the drywall. This guide covers what actually goes wrong, how to inspect your own windows before the problem compounds, and what a proper installation should look like before the final coat of paint dries.
Quick Answer
A proper window installation maintenance checklist for Plantation homeowners includes inspecting the exterior caulking and flashing for gaps, checking the interior seal and weep holes for drainage, testing the operation of sashes and locks, cleaning the tracks, and verifying that the glass seal is intact with no fogging. In South Florida’s climate, you should perform this inspection twice a year, before the start of hurricane season in June and again in October after the heavy rains taper off. The most important check is the exterior waterproofing, because water intrusion is the leading cause of structural damage, mold, and voided manufacturer warranties in Broward County.
Table of Contents
- Why Plantation’s Climate Demands a Different Maintenance Standard
- What a Correct Window Installation Looks Like Before You Maintain Anything
- Checklist Part 1: Exterior Inspection (Flashing, Caulking, Drainage)
- Checklist Part 2: Interior Inspection (Seals, Condensation, Drywall Stains)
- Checklist Part 3: Operation and Hardware (Sashes, Balances, Locks)
- Checklist Part 4: Impact Glass and Hurricane Protection Systems
- The Seasonal Maintenance Schedule That Works in Plantation
- Common Mistakes to Avoid
- When to Call a Professional
- Frequently Asked Questions
- The Bottom Line
Why Plantation’s Climate Demands a Different Maintenance Standard
Plantation sits roughly seven miles inland from the Atlantic, which means the humidity is relentless, the afternoon thunderstorms are frequent from May through September, and the hurricane threat runs half the year. Wood frames swell and contract with every rain cycle. Aluminum frames corrode at the corners where salt and condensation collect. Vinyl frames expand noticeably under the direct sun that pounds the west-facing windows along Pine Island Road and Broward Boulevard. A maintenance checklist written for a dry climate is not going to tell you that the caulk bead on the south side of your house will fail two years before the same bead on the north side. But it will.
In our experience, the most common avoidable problem we see in Plantation homes is water that enters at the head flashing, the horizontal piece above the window. When that flashing is taped, stapled, or missing entirely, water runs behind the wall sheathing and travels down inside the frame cavity. The homeowner does not see anything for months, then one day the drywall below the window is staining at the corners, and the estimate is no longer about the window, it is about the wall. The maintenance checklist exists so that you catch the problem at the flashing, not the drywall. It costs a few dollars to re-caulk. It costs thousands to rebuild a water-damaged wall.
A good way to think about it: in Plantation, you are not maintaining windows because the windows need it. You are maintaining the building envelope, and the windows happen to be the most vulnerable penetrations in that envelope. Every opening in your exterior wall is a potential leak. The window is supposed to be the controlled version of that leak, with flashing that directs water to the outside and weep holes that let condensation drain. If either of those systems is compromised, the window is no longer water-managed. It is just a hole with glass in it.
What a Correct Window Installation Looks Like Before You Maintain Anything
Maintenance is easier when the installation was done right in the first place. You cannot maintain a window that was set out of level, flashed with building paper, and tapped into the rough opening with shims from a pallet. So before we get to the checklist itself, here is what a correct installation looks like in a Plantation home, because it sets the baseline for every maintenance task that follows.
The rough opening gets flashed with a self-adhered membrane that laps in the right order: sill first, then jambs, then head. The window is set on a sloped sill, not flat, so any water that does get in drains outward. Backer rod and sealant fill the gap between the window and the framing, not expanding foam squirted in from a can. The exterior gets a drip cap, and in South Florida that drip cap should be metal and integrated with the house wrap, not omitted because it is easier to caulk over the gap. The interior side gets a continuous air seal so the humid outside air stays outside, because when humid air meets the cold surface of your air-conditioned glass, the result is condensation that saturates the sill and rots the wood casing.
TruePane Windows & Doors home, has a rule that covers it: if the pane is not true, the job is not done. The rule is named for the glass, but it governs the frame, the flashing, the slope, and the seal. An out-of-true window binds when you try to open it in July. An out-of-true window leaves a gap at the corner that the caulk cannot bridge. An out-of-true window is a warranty dispute waiting to happen, and the manufacturer will not lose that dispute. The installer will.
When we install windows in Plantation, we measure every opening twice, register both manufacturer warranty layers in writing before the technician leaves the driveway, and back the work with a Done Right Promise. That is our standard. If you are maintaining windows that someone else installed, use this description as your reference for what should be there. If your windows do not match it, the checklist will tell you soon enough.
Checklist Part 1: Exterior Inspection (Flashing, Caulking, Drainage)
- Walk the perimeter of the house and look at every window from the outside. Bring a pair of binoculars if the second-story windows are hard to see from the ground. You are looking for anything that has changed: cracked caulk, peeling paint, exposed foam, gaps between the window frame and the stucco or siding. In Plantation, most homes are CBS construction with stucco exteriors, and stucco pulls away from window frames over time as the house settles and the sun does its work.
- Check the head flashing above each window. The head flashing is the angled metal or vinyl piece that directs water away from the top of the window. Run a finger along the underside if you can reach it. If it is loose, if there is no drip edge, or if caulk has been smeared over it instead of installing a proper flashing, the window is not water-managed.
- Inspect the caulk joint between the window frame and the exterior wall. It should be continuous, with no gaps, no peeling, and no cracking. Pay extra attention to the top corners, where water running down the wall will linger. In Plantation’s afternoon thunderstorms, water hits the side of the house with real force, and a pinhole in the caulk becomes a leak under wind-driven rain.
- Clear the weep holes. Weep holes are the small slots or holes on the bottom edge of the frame on the exterior side, designed to let water drain out of the window track. If they are clogged with debris, pollen, or salt crust, water backs up inside the track and eventually finds its way inside the wall. Clean them with a pipe cleaner or compressed air, not a metal pick that could scratch the frame.
- Look at the bottom of the window for evidence of water staining or mineral deposits. Streaks, white crust, or discolored stucco below the window are signs that water is not draining the way it should. The fix may be as simple as clearing the weep holes or as involved as re-flashing the opening. If you see staining after a rain, note it.
Checklist Part 2: Interior Inspection (Seals, Condensation, Drywall Stains)
- Examine the interior of the glass for fogging or haze. A sealed insulated glass unit should be clear. If you see fog, condensation between the panes, or a haze that cannot be wiped off from either side, the seal has failed. That means the gas fill or dehydrating agent inside the unit is gone, and the window has lost most of its insulating value. The only permanent repair is replacement of the glass unit. In our experience, seal failures in Plantation are concentrated in windows that get direct afternoon sun, which heats the glass and stresses the edge seal.
- Run your hand around the interior casing and feel for air movement. On a windy day, or with a fan running, air leaks show up as a noticeable temperature difference near the window. You can use an incense stick or a thin piece of toilet paper near the seams to make the draft visible. The air seal belonged to the installer. If it is missing, the window is leaking conditioned air into the South Florida heat, and your power bill reflects it.
- Look for water stains or bubbling paint on the drywall below and around the window. Water intrusion rarely shows up at the window itself at first. It travels down the inside of the wall and appears as a brown stain at the bottom corner of the drywall, or as paint that is bubbling, peeling, or soft to the touch. This is the point where the repair is no longer a window project. It is a wall project.
- Check for mildew or a musty odor near the window. In Plantation’s humidity, a small and persistent source of water will grow mildew quickly. If the room smells musty only near one window, the leak is probably small and in the wall cavity. Do not ignore it because it is dry now. It will not stay dry through the rainy season.
Checklist Part 3: Operation and Hardware (Sashes, Balances, Locks)
- Open and close every window in the house. A window that does not open is an egress concern, but it is also a signal that the frame is out of true, the balance system has failed, or the sash has swelled. A window that opens but will not stay open, or that slams shut, has a failed balance. In double-hung windows, the balance is the mechanism in the side jambs that holds the sash up. In Plantation’s humidity, older single-hung windows with spiral balances give out gradually, and homeowners often do not notice because they use the window as a vent, not a door.
- Check the locks and latches. Every window should lock easily and stay locked. A lock that engages only halfway, or requires slamming the window to get the parts to meet, is a sign that the sash is misaligned. Alignment is an installation issue: the frame was not squared and shimmed correctly when it went in. For impact windows, the lock is also part of the structural system in a strong wind, so a misaligned lock is a hurricane-readiness issue, not a convenience issue.
- Clean the tracks and apply a dry lubricant to the rollers or slides. Dirt, pollen, and fine sand accumulate quickly in South Florida window tracks. If the track is dirty, the rollers grind, the sash wears, and eventually the window becomes hard to open. A dry silicone lubricant, not WD-40 and not grease, does the job. Grease attracts more dirt, and the track will be worse in three months than it is now.
- Inspect the weatherstripping around the sash. It should be intact, flexible, and seated in its channel. In our climate, weatherstripping degrades faster than in cooler regions because of the combination of heat and UV exposure. Torn or flattened weatherstripping lets air and water move around the sash. Replacing it is a maintenance item that any homeowner can handle, and it is the most cost-effective way to improve the energy performance of an older window.
Checklist Part 4: Impact Glass and Hurricane Protection Systems
Plantation sits in the Miami-Dade Broward County high-velocity hurricane zone, and most newer homes have either impact-rated windows or removable shutter systems installed to meet the Florida Building Code. If your home has impact glass, the maintenance checklist has a few extra items, because the window is now doing two jobs: managing water like any window, and resisting wind-borne debris like a piece of structural armor.
First, verify that the impact sticker is intact and legible. The etched or affixed label on the glass carries the product approval number, the wind load rating, and the manufacturer information. If the sticker is missing, faded, or painted over, your insurance company may ask questions during a claim or an inspection. Keep a photo of it in your insurance file even if the sticker is still there.
Second, check the frame-to-wall anchoring. Impact windows are anchored into the surrounding block or concrete with a specific number of fasteners at a specific spacing, per the product approval. If you can see gaps between the window flange and the wall, or if the caulk is pulling away, the anchoring may have been disturbed. Do not attempt to repair or adjust impact window anchoring on your own. Call a licensed installer. The rating is only valid when the window is installed to the letter of the approval.
Third, inspect the silicone glazing bead at the glass edge on the exterior side. If that bead is cracked, the structural silicone that helps transfer load from the glass to the frame during an impact event is compromised. Small cracks are a maintenance repair for a professional. Large gaps or missing sections are a replacement-level concern. In our work with Andersen, Pella, and Marvin impact lines, we recommend an inspection of the glazing bead at least once every five years on the windward sides of the house.
The Seasonal Maintenance Schedule That Works in Plantation
You can structure the maintenance around the two seasons that matter here: the rainy season and the dry season. Plantation’s rainy season runs from late May through mid-October, and the dry season runs from November through April. Two inspections a year, timed to the calendar, will catch nearly every problem before it causes damage.
Late Spring Inspection (May or early June)
- Walk the exterior and inspect every caulk joint for cracks and separations.
- Clear weep holes and clean window tracks on the windows you plan to use for ventilation.
- Test every window for smooth operation and positive locking, including secondary sashes.
- Photograph the impact stickers on all impact windows and store the photos with your insurance documents.
- Check weatherstripping for tears and replace worn sections before the rainy season starts.
Late Fall Inspection (October or November)
- Inspect the interior drywall around every window for water staining from the rains just past.
- Check for fogging or condensation between glass panes after the summer heat stress cycle.
- Verify that head flashings are still seated and that no sections have lifted in wind.
- Lubricate rollers and slides dry, and remove any salt or sand accumulation from tracks.
- Test that all locks still engage cleanly after months of opening and closing.
Two hours, twice a year. That is the maintenance commitment for a house full of windows. Miss the spring inspection, and you are entering hurricane season with unknown vulnerabilities. Miss the fall inspection, and a small leak from August has four months of winter, such as it is, to sit in the wall cavity and feed mildew. In Plantation, there is no truly cold season to kill the growth. It just grows slower.
Common Mistakes to Avoid
- Using silicone caulk to seal the inside of the window. Interior seals should be closed-cell backer rod and a low-VOC sealant, not a bead of silicone smeared over the gap. Silicone on the interior traps moisture inside the wall cavity instead of letting it dry to the inside.
- Repainting over a water stain without finding the leak. We see this constantly in Plantation’s single-family neighborhoods. The stain gets painted, the leak continues, and six months later the paint is bubbling again and the drywall is soft. The stain is the symptom. The leak is the problem.
- Assuming impact windows are maintenance-free. Impact windows are strong. They are not sealed forever. The caulk, the flashing, the structural silicone, the weatherstripping, they all wear. An impact window that is not maintained is a normal window with a rated piece of glass in a frame that leaks.
- Drilling holes in the frame to install window treatments or decor. Every hole through the frame is a new path for water. Plantation’s afternoon thunderstorms will find a screw hole in the top of a window frame that never occurred to the person who installed the curtain rod. Use pressure-mounted or frame-clip solutions instead.
- Waiting to clear weep holes until the window already leaks. By the time water is visible inside, the water has been rising in the track for weeks. Clearing weep holes is a five-minute task. Make it part of the routine, and the routine becomes the thing that keeps your walls dry.
- Replacing a fogged glass unit without checking the frame seal. If the frame seal at the rough opening failed, the new glass unit will fail too, because the water that killed the first seal is still there. Fix the frame first, then the glass. Any installer who replaces the glass without checking the frame is doing the job twice.
- Trusting the builder’s grade caulk to last more than two Plantation summers. The caulk put in by production builders is chosen for cost and speed, not longevity. In our climate, it is often cracked and pulling away within two years. If your home is more than four years old, the exterior joints are due for an honest look.
When to Call a Professional
If you see water staining on interior drywall, fogging between glass panes, out-of-square frames that bind or lock poorly, or failed caulk joints at the head flashing, it is time to make a call. These are not weekend projects. They are installation and repair issues that can compromise the building envelope, and attempting a fix without a complete understanding of the flashing and drainage plane often makes the problem harder for the next person to solve. TruePane Windows & Doors offers free estimates throughout Plantation. Call (772) 577-2915, and a live person will answer. We will tell you what the job needs, what it costs, and how long it will take, in writing, before you commit to anything.
Frequently Asked Questions
Twice a year is right for most Plantation homes: once before the rainy season in May and once after it ends in October. Clean the tracks with a dry brush or vacuum, then apply a dry silicone lubricant to the rollers or slides. A dry lubricant keeps dirt from sticking, which is important in South Florida’s pollen-heavy and sandy environment. Call (772) 577-2915 if you need a hand with the work.
Leaks and seal failures vary widely depending on whether the problem is at the frame, the flashing, or the glass unit, but the free inspection narrows it down quickly. Our standing offer is straightforward: free estimates in writing, no surprise line items on the bill, and a Done Right Promise on every job. Call (772) 577-2915 for exact pricing.
No, a fogged insulated glass unit cannot be repaired by anyone on the job site, including us. The sealed unit must be replaced, because the desiccant and gas fill are gone and there is no way to restore them from outside. What we can do is confirm whether the frame seal failed first, so your new glass does not fail the same way in three years.
Check the product approval sticker on the glass for the Florida Building Code approval number and compare it to the product’s online approval document, which lists the required anchoring and installation method. If you cannot verify it yourself, TruePane Windows & Doors will inspect the installation and tell you honestly whether it meets the approval. We install Andersen, Pella, Marvin, and Milgard impact lines, and we know what the approvals require.
Manufacturer warranties cover the window, not the wall. If the leak came from an installation defect, the installer is responsible, and that is exactly the situation our Done Right Promise and The Keystone Standard exist to prevent. Both manufacturer warranty layers are registered in writing before we leave the driveway on every job. If a past installer is not answering, we can inspect the work and tell you what it will take to fix it right.
Most of our residential installations are completed in a single visit, usually a day or less for a standard retrofit. Complex openings, stucco repairs, and some impact installations can run longer, and we tell you the schedule in writing before work begins. Call (772) 577-2915 to schedule a free estimate and get a real timeline for your specific windows.
The Bottom Line
Plantation’s climate punishes window installations that were not done right and rewards homeowners who inspect twice a year. The checklist is not complicated: walk the exterior, clear the weep holes, test the operation, check the interior for moisture, and verify that the impact stickers and flashing are intact. Two hours in the spring and two in the fall catches nearly everything before it becomes a wall repair. If you find water staining, fogged glass, or a window that will not lock, call (772) 577-2915.
Written by the team at TruePane Windows & Doors.
Six Reasons Homeowners Choose TruePane Windows & Doors
Impact systems engineered to design pressures up to +/-100, matched to your wind zone - your openings hold when the storm arrives.
Low-E insulated impact glass from our manufacturer lines commonly cuts monthly cooling bills 20-30%.
Laminated impact glass shuts out up to 40% of outside noise - traffic, neighbors, weather.
Monitoring services run $30-90 a month. Laminated impact glass resists forced entry around the clock, with no subscription.
Florida homeowners average around 25% savings on the windstorm portion of their policy after protecting every opening - some homes qualify for more.
A full impact package upgrades curb appeal, buyer confidence and appraised value in one project.